 Structure
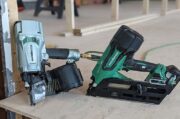
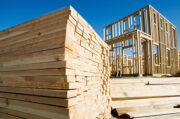
How Many Roofing Nails Per Square of Shingles
Estimating How Many Nails for a New Roof When it comes to estimating materials for building construction it's…
 Mechanical
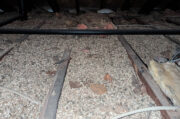
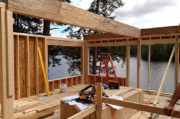
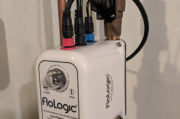
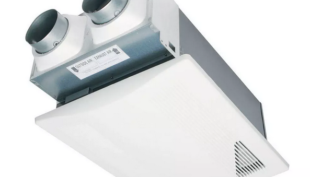
Benefits of an ERV System (Energy Recovery Ventilator)
Benefits of ERV Systems (Energy Recovery Ventilator) If you're building a new home or doing a major renovations…
 Workshop
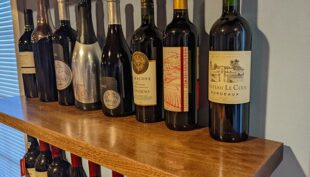
How To Build Floating Bar Shelves
Floating Walnut Bar Shelves Floating shelves are extremely popular and it's not a surprise due to the clean…
 Landscaping
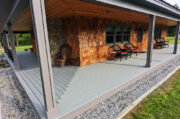
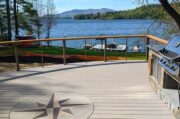
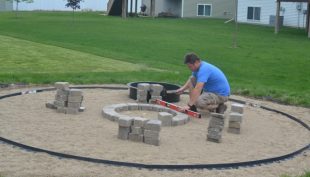
Building A Paver Patio – Part 2
Building A Paver Patio - Part 2 This article is Part 2 in a series describing step by…
 Finish Carpentry
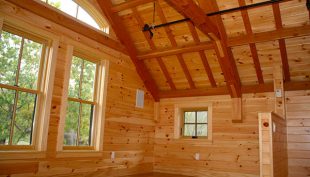
Durgin and Crowell Enhance™ Pre-Coated Pine
Enhance™ by Durgin & Crowell We're very fortunate to build homes in an area of New Hampshire filled…
 Safety
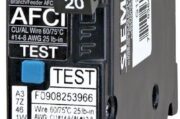
Teach them young: Kids and tools
Teach Them Young: Kids and tools Kids and tools can strike fear into many parents. I get that,…


Connect