

AFCI Breaker | How to add one to your panel

3. Remove the breaker to be replaced
Now that the panel is deenergized and the cover removed, pull out the breaker to be replaced. The breaker is held in by friction to the hot buss bar and a cleat to the back. Lift the breaker towards you until it is free of the buss bar and then pull it away from the cleat. Then remove the load wire from the rear of the breaker. This is held in by a machine screw. It could be a standard slot tip or combo phillips and slot. The AFCI that’s replacing this breaker is a combination slot/square machine screw.
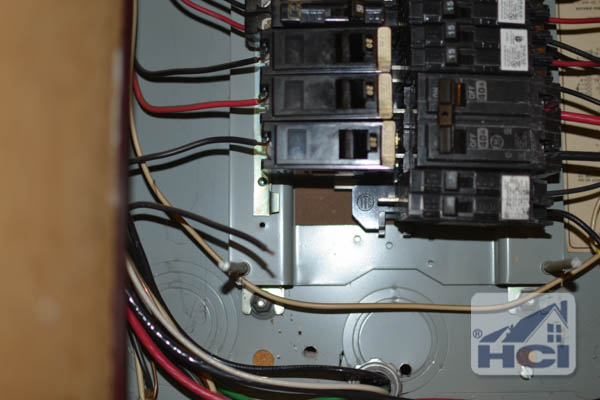
Original breaker removed. Cleat (left) and buss bar (right) can be seen where breaker used to be.
4. Remove the neutral
Follow the load wire that was just removed back to where it meets up with the matching neutral wire where the romex enters the panel enclosure. Then follow the neutral to the neutral/ground buss bars and remove it. This neutral will be mounted to the new AFCI breaker stud marked “Load Neutral”. If the wire isn’t long enough to reach the breaker, an additional length of white wire of the same gauge can be wire nutted to the end of the load neutral.
5. Attach the panel neutral
Now uncoil the panel neutral wire from the rear of the AFCI breaker and fasten it to the neutral/ground buss bar.
One thing to note: In the main circuit panel in a house the neutral and ground buss bars are tied together. If you are adding an AFCI breaker to a sub panel the neutral and ground busses are not tied together. Be sure that if you are adding the new breaker to a sub panel that you only attach the new panel neutral to the neutral buss.
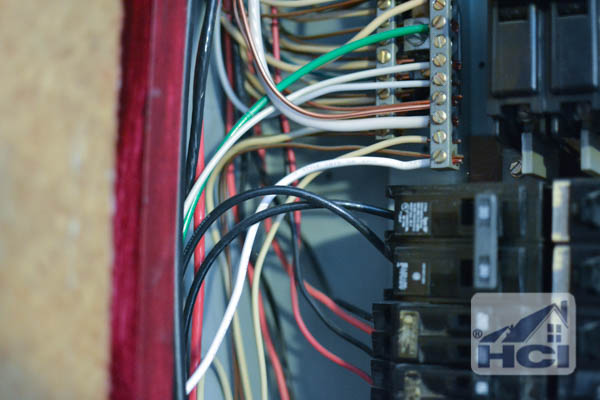
New panel neutral is the lowest white wire on the neutral/ground buss bars.
6. Connect the load hot and neutral
Now screw down the load hot and load neutral wires to the back of the new AFCI breaker. The breaker is marked as to which wire goes where. The machine screws may even be color coded for further clarification. Brass screws for hot and silver for neutral. If you have aluminum wire be sure to use No Lox or suitable joint compound to prevent oxidation.
Disclosure: Discerning eyes will notice that this is a GE AFCI breaker in the pictures. My supplier was out of Siemens 20A AFCIs at the time so my electrical inspector was ok with a GE going in temporarily. A Siemens unit is now installed for the AFCI and the 40A double pole feeding the shop sub panel. Just because a breaker fits doesn’t mean it is appropriate. Make sure to match the manufacturer of the panel and breaker.
Brass screw for load hot, silver screw for load neutral
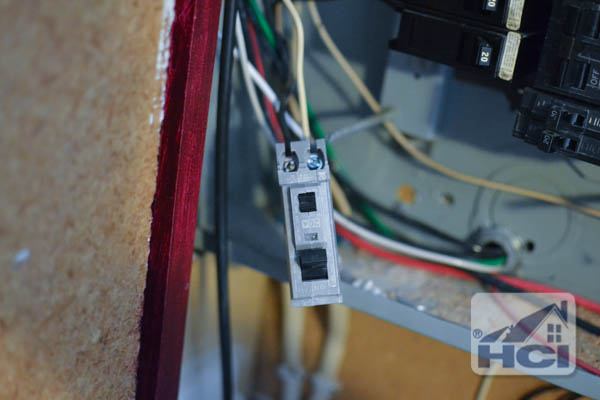
7. Snap in the AFCI Breaker
In the reverse order that the old breaker was removed, snap in the AFCI breaker. First tip the back in and engage the rear cleat then push on the front of the breaker until it is fully seated and engaged with the hot buss bar.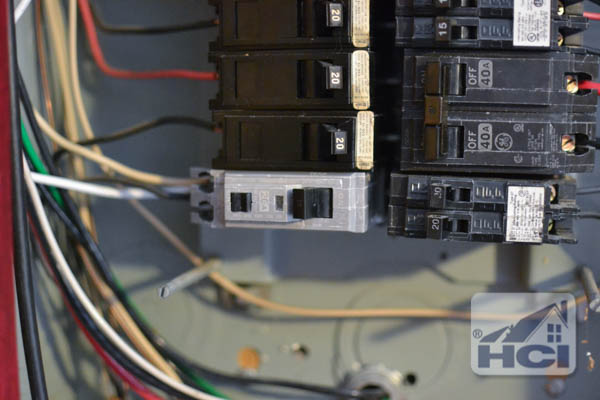
8. Replace panel cover and energize main
 Be sure all of the wires are tucked back into the panel enclosure and then replace the cover. Replace the 4 machine screws in the corners of the cover to secure it down. Finally, reenergize the main breaker.
9. Energize and test AFCI Breaker and circuit
Now that the panel is energized, turn on the AFCI breaker. Check the circuit by plugging in a radio or lamp to verify it is working. Go back to the panel and push the test button. This will create an arcing condition and trip the circuit. Reset the circuit and check off this item from the Honey-Do list.


Leave a comment