

Building Custom Chess Board

How To Build A Custom Chess Board

I first learned how to play chess with my dad as a young boy. Now I get the pleasure of playing with my son so I decided to build a custom chess board for he and I to use. After scouring the web for examples I decided to create my own design. For this project I used a combination of Maple and Walnut due to their contrasting colors and availability. In fact, much of the wood was left over from some of the cutting boards I’ve built in the past. Additionally, I used some plywood for the base material for the top and bottom along with a divider inside the storage area.

Building The Chess Board Top
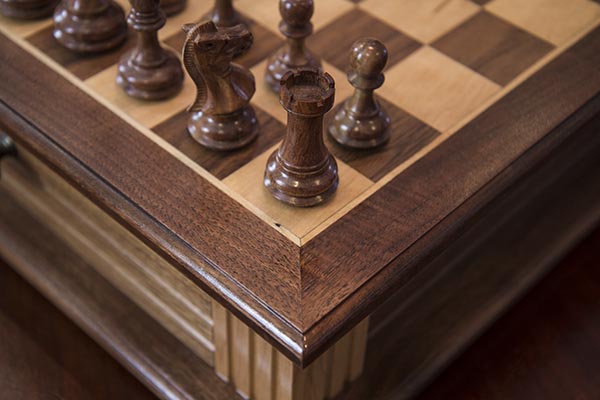
 Arguably the most important part of the chess board is the playing surface which is an 8 by 8 grid of varying colored squares. Sitting looking at the board from the players position, the bottom left corner is a dark square, and the bottom right corner is a light colored square.
I decided to build a thin layer or alternating squares of Maple and Walnut glued onto a layer of 1/4″ thick plywood. The plywood will help keep the top flat and avoid warping and movement.
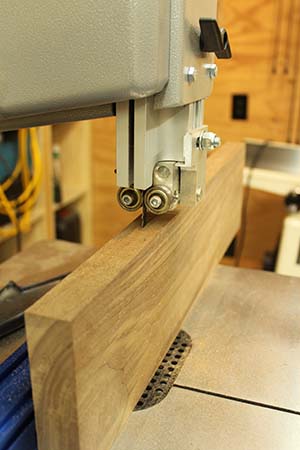
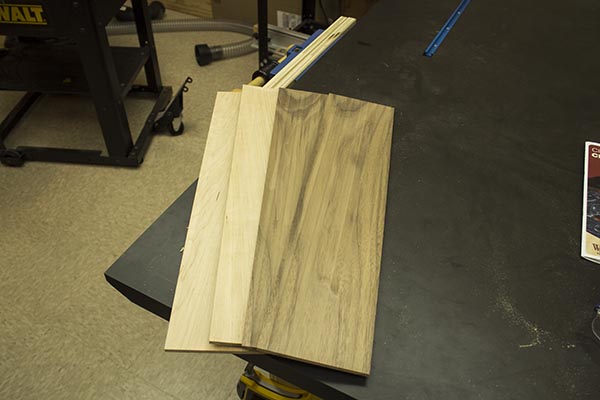
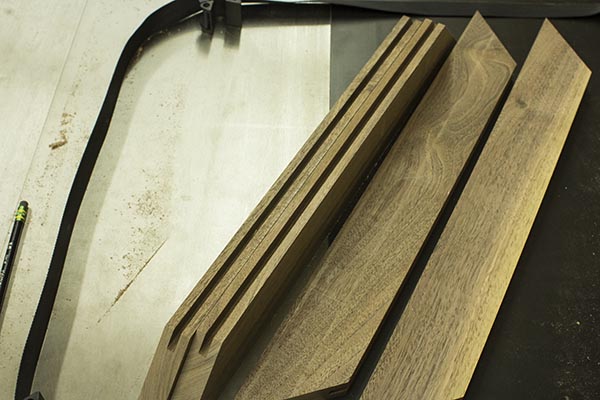
For the squares I used the bandsaw to slice off 1/4″ thick slices of both Maple and Walnut. After resawing the material I ran it through the thickness planer to get each of the pieces flat and the same thickness. Next the material was ripped on the table saw to the narrow strips the width of the playing squares.
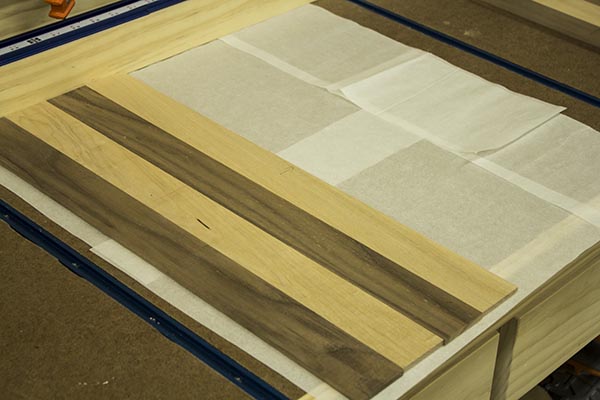
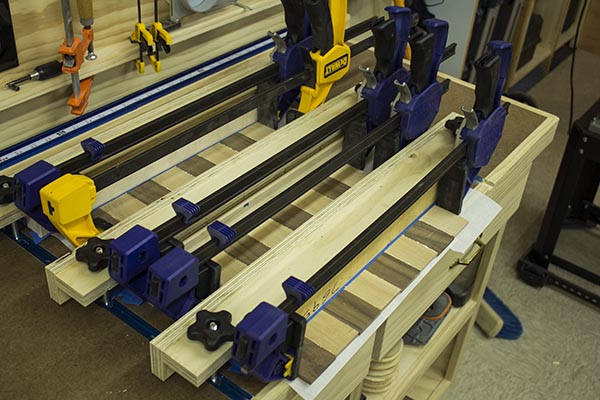
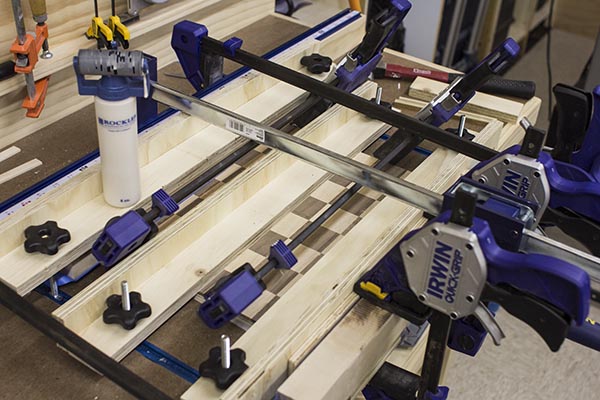
Once the strips were ripped to width, they were glued on edge in alternative pieces of Maple and Walnut. To accomplish the glue-up I first planed parchment paper on the bench, then glued each piece next to each other. Then I placed some straight pieces of wood (culls) on top of the boards to keep them from buckling. Clamps were used to apply pressure to the full width of the glue-up.
On my bench I have some T-Slot track mounted so that I can attach clamps. This is really handy when doing these type of glue-ups.
After this assembly was dried I then cut it cross-wise the same width as the individual strips. This creates a strip made of 8 squares of alternating Maple and Walnut.
 Next these strips are glued again on edge, each one flipped end for end to create the alternating checkered pattern. In addition to being glued on the edge, the strips were also glued to a piece of 1/4″ plywood, all in the same step. As was the case in the first glue-up, culls and clamps were used to keep the board flat and pressure applied to the assembly while drying.

For this project I used Titebond II for all the glued joints. I’ve had really good luck with all the Titebond products over the years so I stick with them. I used the Rockler glue bottle with glue roller and it works really good.
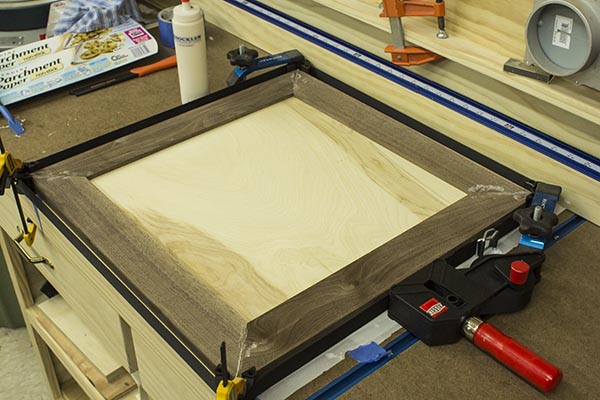
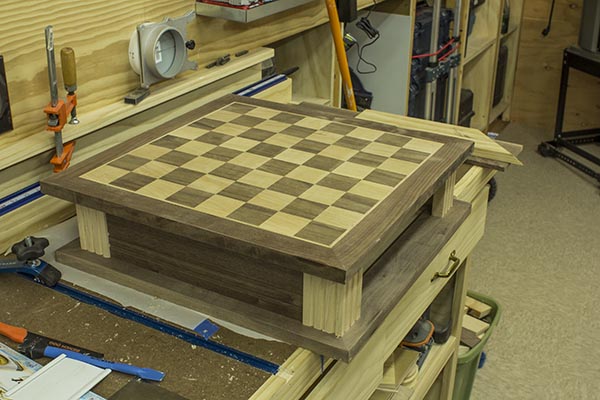
 After gluing up the top pattern I made a frame to wrap around the checkered pattern. The frame is made from Walnut with mitered corner joints. I made the same frame for the bottom and top.
 The bottom frame just holds a piece of 1/4″ plywood, and the top frame holds the plywood and hardwood laminate. For the top frame I used a rabbit to allow the top to be flush to the surface, and the bottom uses a dado.
 Building the Cabinet Sides
The cabinet has two sides attached to corner posts. The two sides leave an open front and back to allow for drawers to store the chess pieces in. The two side panels are made from Walnut while the corners are made from Maple.
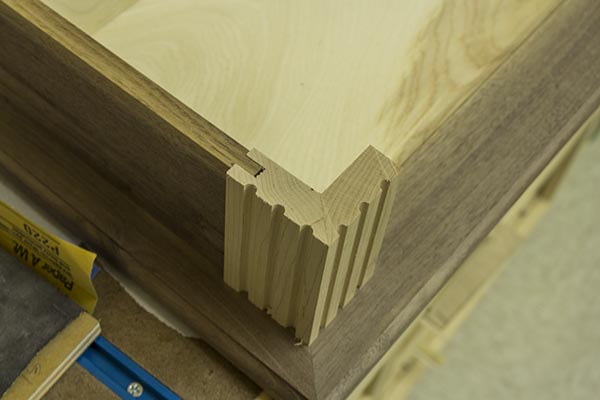
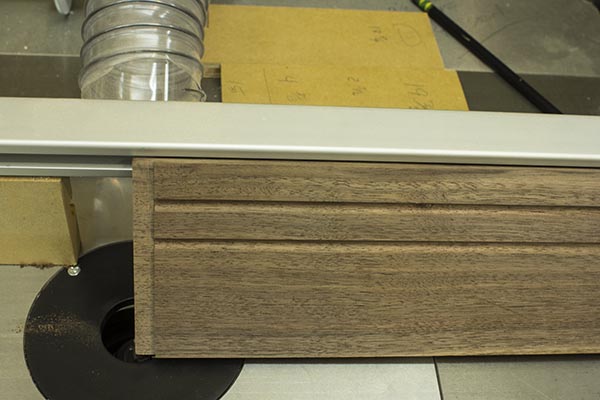 To add some character to the cabinet, I used a router to route some half-round slots along the length of the sides, and also to create a fluted look on the corners. I milled a dado in the corner pieces to accept the tenon on the side panels.
Assembling the Chess Board Cabinet
The Maple corners are mitered together with a glue joint. The two sides are next glued to the bottom. I also installed a piece of plywood in the center of the box between the two sides. This helps stiffen the entire box, provide support for the side panels, and additional support for the top and bottom to prevent warping.
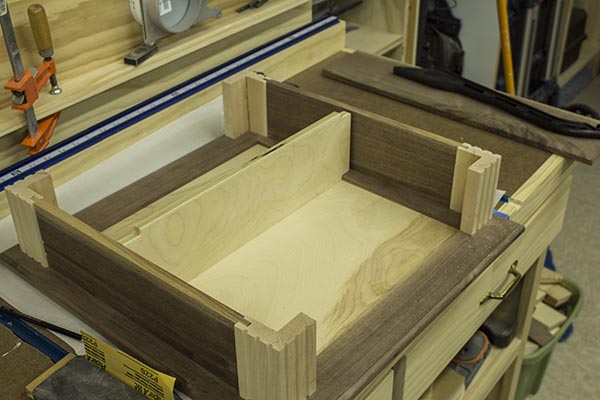 The last step was gluing the top to the lower assembly. Glue was applied to the top of the side panels, corner blocks, and the center support.
Chess Board Storage Drawers
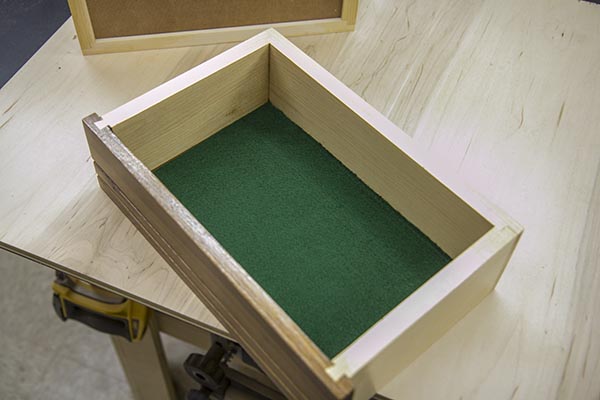
Next I made two storage drawers with Walnut front panels and Maple sides. I used 1/4″ hardboard for the bottoms. I attached the drawer sides to the drawer front using a dovetail joint. The drawer fronts have the same half-round slot details that the sides of the cabinet have. The back drawer sides are joined to the drawer back with half-lap glued joints.
 I also lined the inside of the drawers with green felt to protect the chess playing pieces.
Finishing The Chess Board
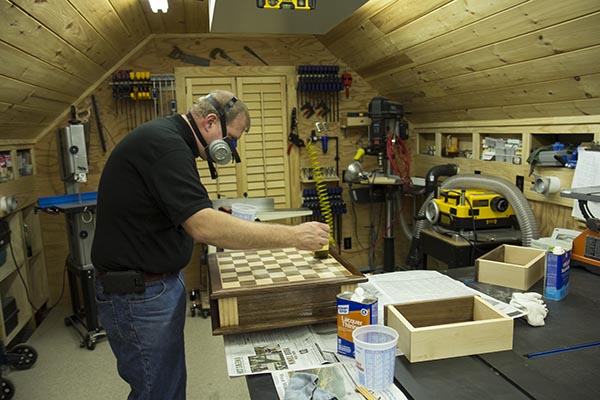
The last step in this build was finishing the chess board and cabinet. For this project I decided to try using brushing lacquer. I read lots of great things about this product so I figured I’d give it a try. First off, this stuff is brutal, you need to wear a respirator! Secondly, I didn’t think it was as easy to get “brush” free results as many online state. After several coats and wet sanding in between coats I ended up finishing off with a couple coats of aerosol lacquer from Deft. Either way, I’m very pleased with the finish.
 I added two small knobs to the drawers and some wooden pieces that I found online. I think this was one of my favorite woodworking projects to date, and one I’m quite proud of!


nice job
i have started building something like this
I used a finish which is equal to 60 coats of polyurethane. Its called Super Glaze and can be found at Home Depot or Menards. It’s a 2 part epoxy and is mixed 50-50. I used a stick to spread it but I found a disposable foam brush worked best! Also, the oak and the mahogany is porous so using a regular coat of poly and then sanding it with 600 grit first before coating it with Super Glaze will be ideal because the wood untreated will produce bubbles.
Building a chessboard is high on my list and loved your post. Cheers from NH.
Beautifully designed and flawlessly constructed. Thank you so much for sharing the process. I’m mid way through a build based largely on your design, with some differing joinery. Thank you!