

How To Build Wood Countertops

Make Your Own Wooden Countertops
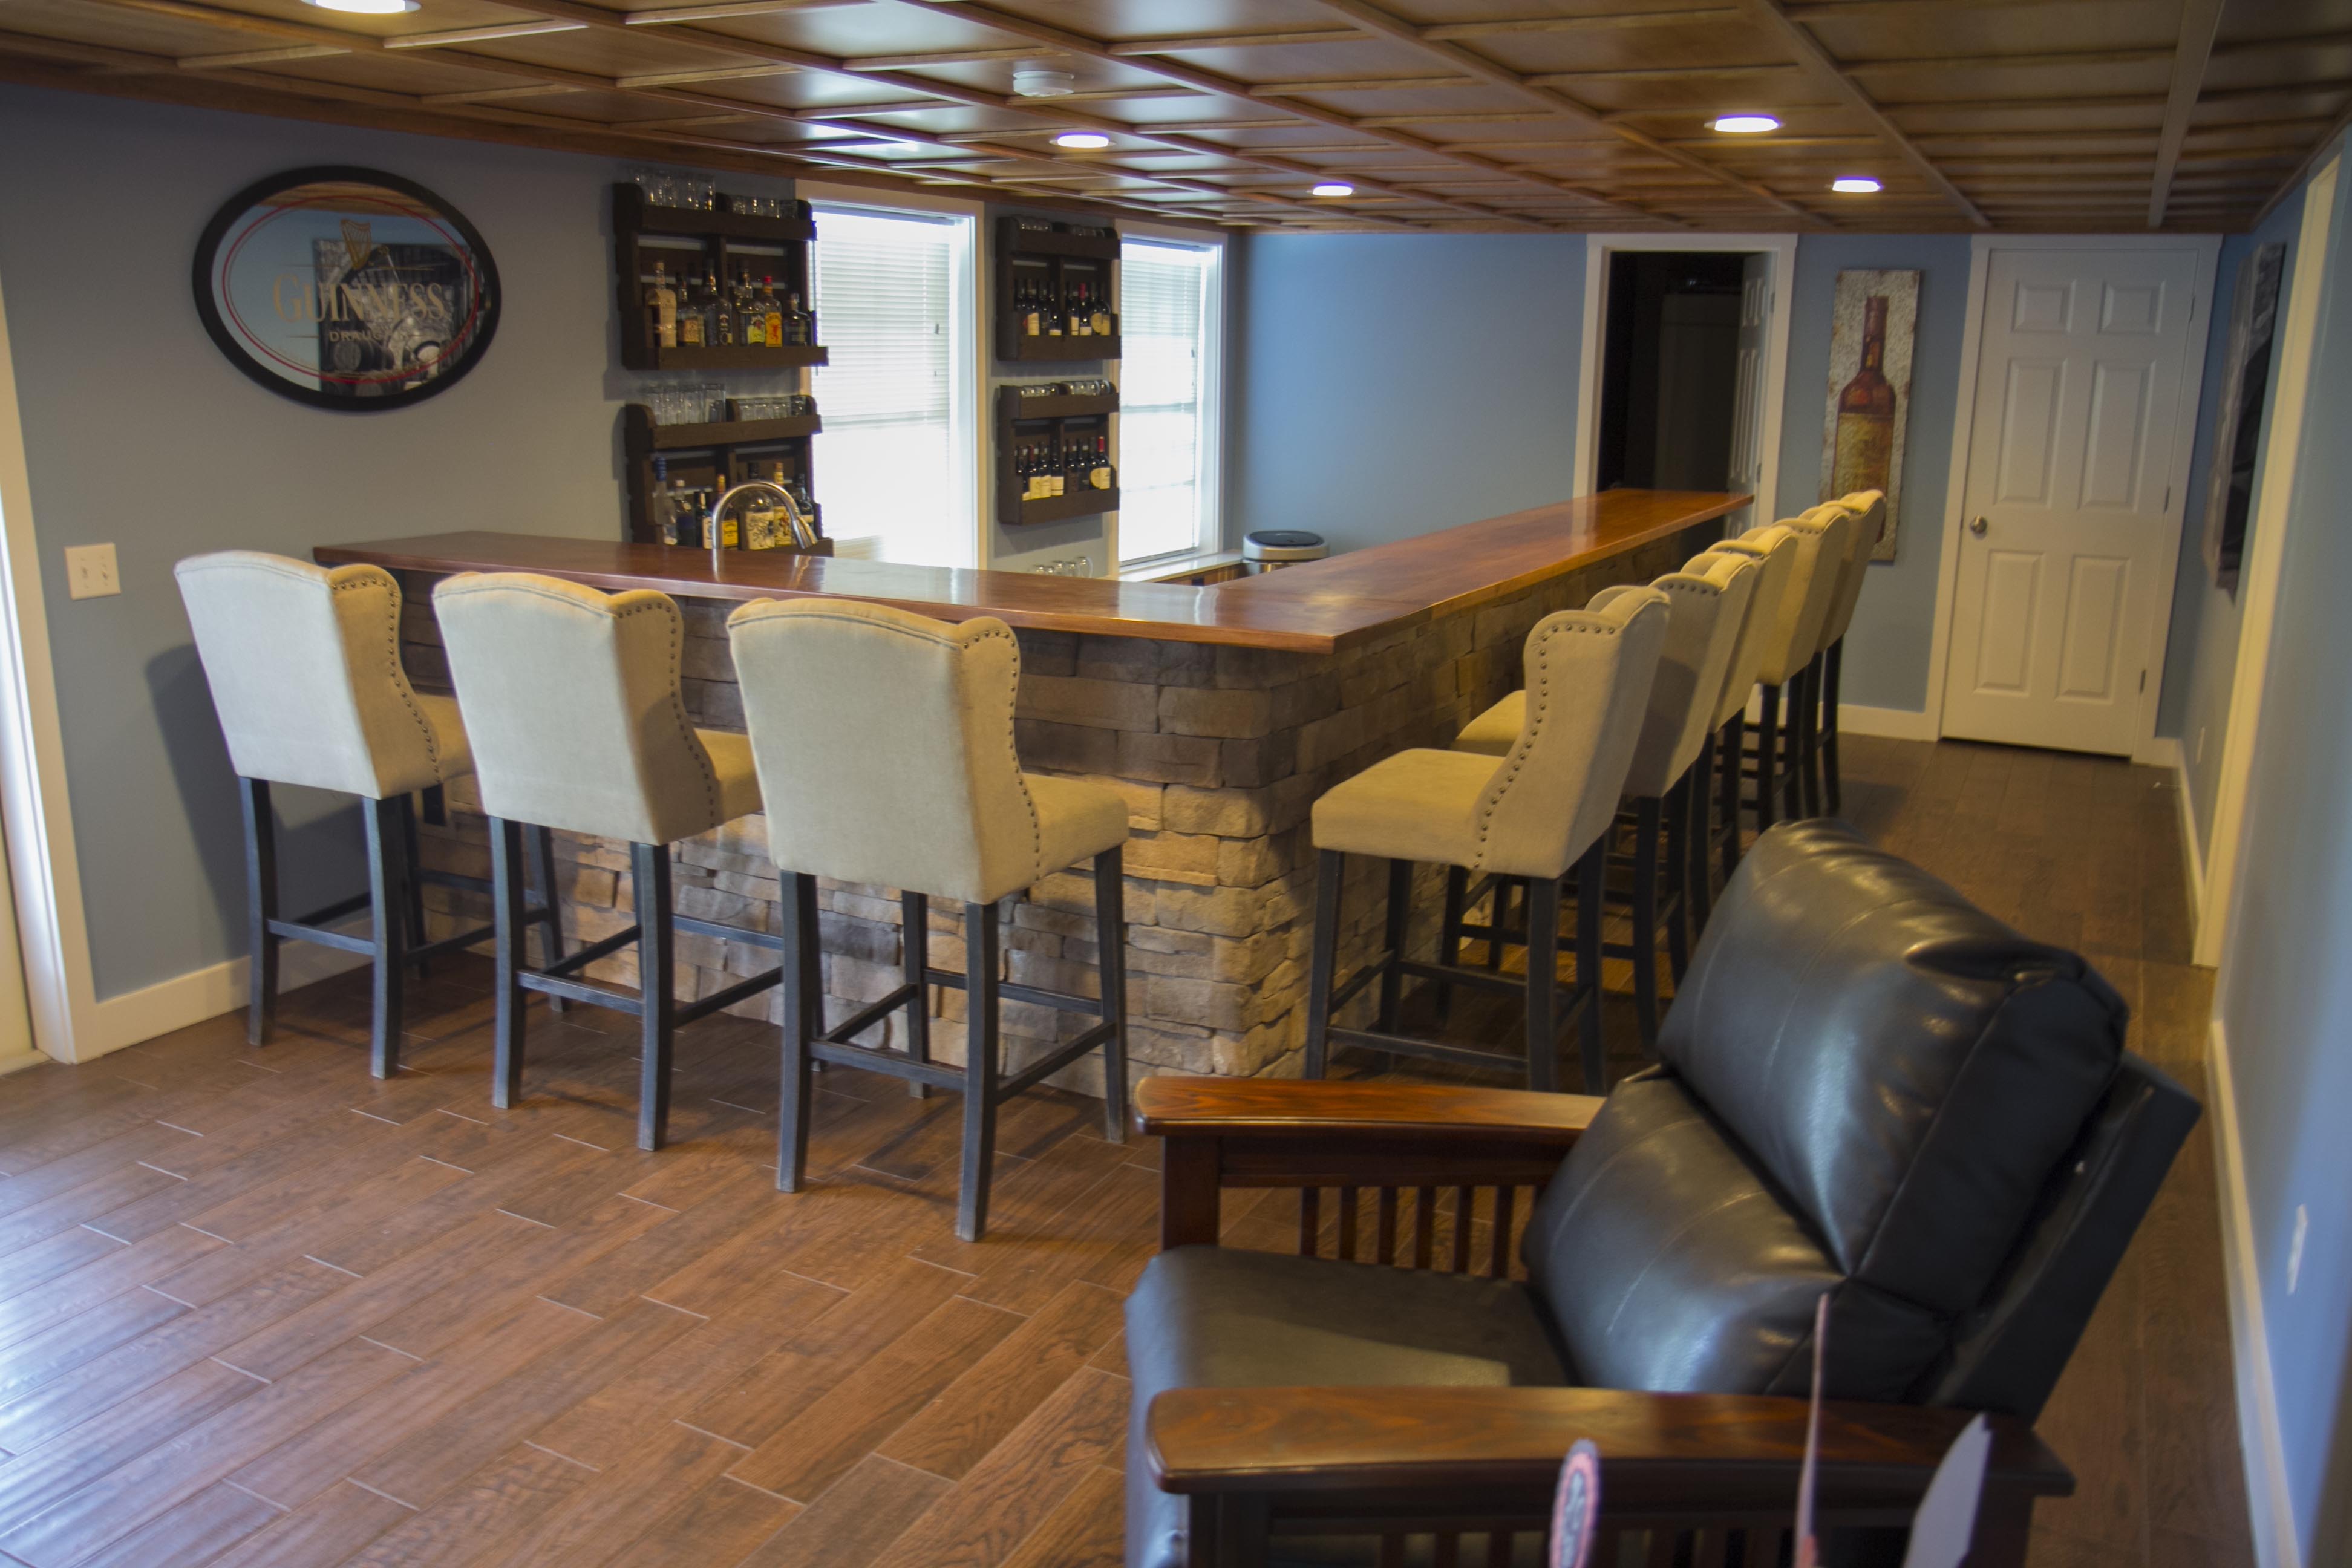
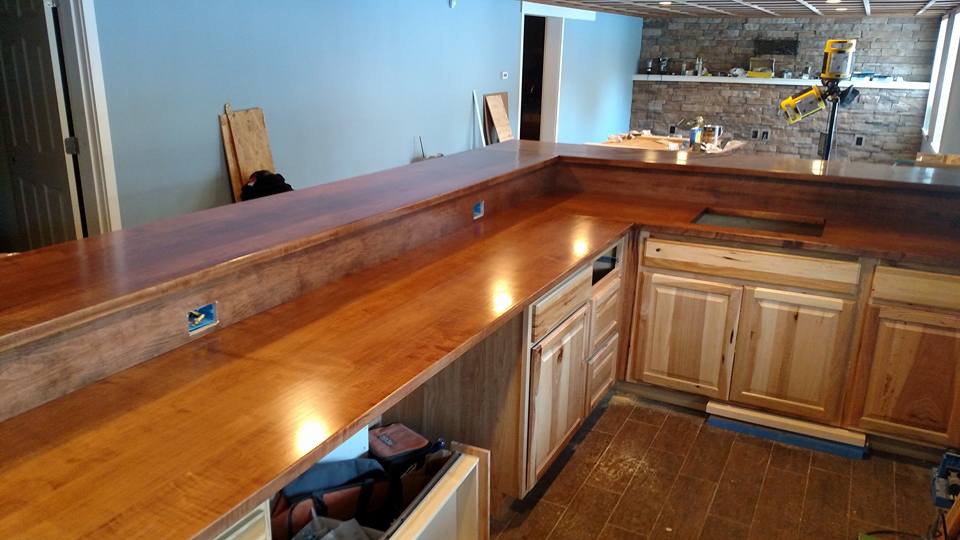
Wood countertops are beautiful and add a warmth that other materials have a hard time matching. While not suitable for extremely wet conditions there are situations like island counters, bars, and serving hutches that make great sense for wood countertops. In this article I want to share my recent experience building wooden countertops for a basement bar that I built.
Selecting A Wood Species
 Probably the most difficult aspect of building your own wood countertops is selecting a wood species. The trick is finding a durable (fairly hard) wood that will remain fairly stable and also match the design style of the room in question. There are tons of options and I’ve seen so many different wood countertops that I’d say the options are almost infinite.
Probably the most common wood used for countertops is Maple. However, I’ve seen many beautiful countertops made from Cherry, Walnut, Sepele, Oak and many others. Part of your decision may likely depend on the wood that’s easiest to source locally while providing the hardness that you desire.
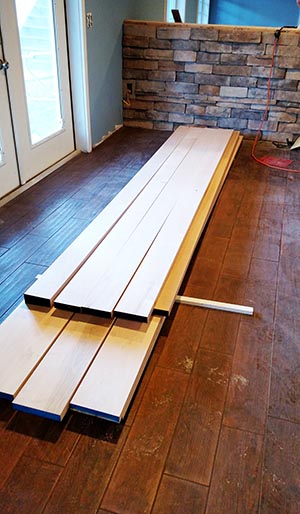
For my project I chose locally sourced Soft Maple. Soft Maple here in New England is most likely either Silver Maple or Red Maple and is readily available at a reasonable price. I had a local planing mill bring in some 6/4 random with boards and mill the boards down to just over 1-1/4″ thickness and the edges run through the jointer. While I could do this in my shop it was much easier to have the mill do it because half of the material I ordered was 14′ long and would have been difficult at best to handle in my shop.
Fabricating Wood Countertops
Wood Acclimation
Before building the countertops I let the wood acclimate to the building for a week. This helps reduce stresses due to shrinkage. However, I didn’t want to wait very long so as to prevent warping and twisting of the material that would make the glue-up process more difficult.
Grain Direction Is Important
For my project I chose to glue the boards together on the edges leaving wide faces showing on top. Another popular approach is cutting 1-1/4 to 1-1/2″ strips and building a butcher block type countertop especially if you’l be using it to cut on as this will produce an edge grain surface which is more durable. However, my countertops are for a bar so I wanted to feature the beauty of the boards vs a more durable cutting surface.
Layout & Test Fit
Before gluing the boards together I laid out each of the four countertops I needed to build and arranged the wood. I wanted to be sure that the front edge of the tops didn’t have any defects (knots, splits, etc) that might cause a durability problem. I also tried where I could to alternate each board so that the growth rings curved in alternate directions from board to board to help prevent cupping of the tops as they dry out further. After determining the final layout of each top I numbered the ends of each board to keep them all in the same direction.
I made each countertop about a foot longer than needed so I could trim the ends and also trim off any split ends on the boards. The width of the boards that I used for each countertop made up the exact counter width I needed so the width of the counter didn’t need to be ripped down afterwards. You can easily rip down the counter after the glue-up but the counters can be quite heavy and difficult to handle. One option for ripping them down would be using a track saw instead of the table saw.
Joining Multiple Boards
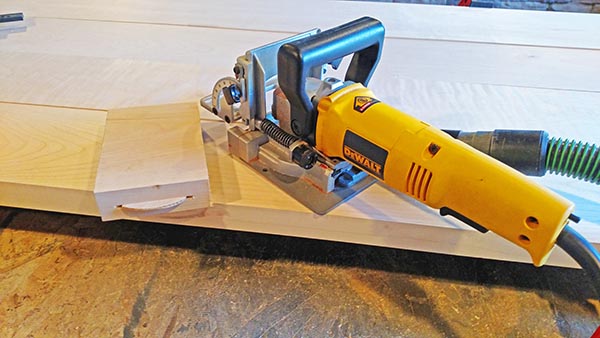
To create a strong connection between adjacent boards I used wood biscuits along with Titebond III wood glue. I really like using Titebond III wood glue for several reasons including: superior strength, food contact safe, and it’s water proof which are all great features for countertops.
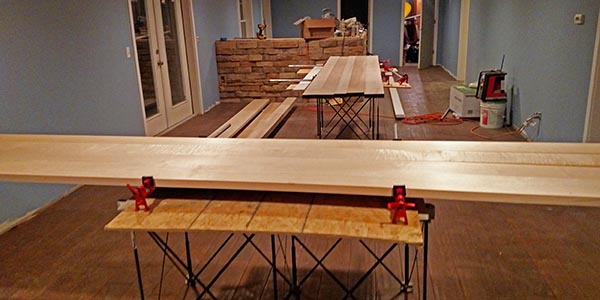
Having an extra set of hands when gluing up long counters is very helpful. With biscuits spaced approximately every 18″ and my counters being just over 14′ long the extra help was almost necessary.
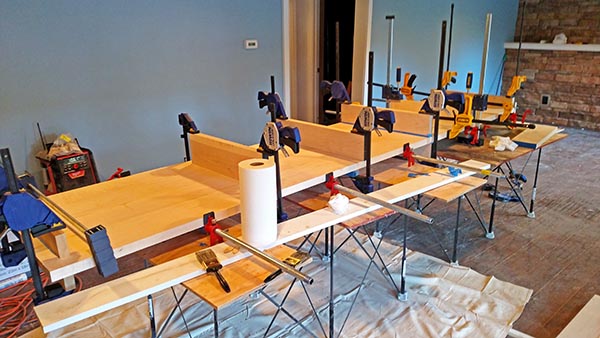
It’s important to spread a heavy layer of glue along the edge of each board and make sure that the entire surface is coated. I like using an old paint brush to ensure that the glue is evenly spread and covering the entire surface. You have to move fairly quickly as the open time on Titebond III is only 10 minutes. Once each piece is coated with glue I worked from one end to the other fitting the biscuits in the slot and clamping the next piece to the previous piece(s).
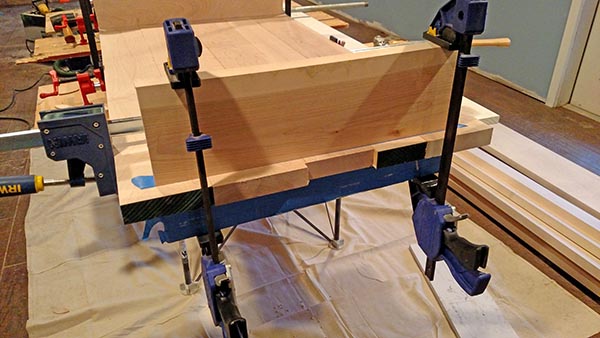
I like using bar clamps to support the work piece and also do the majority of the clamping action. With wide glue-ups you’ll need “cull” boards clamped down as well to keep the countertop flat and help prevent cupping. To save yourself some serious clean-up I recommend covering the culls with tape so glue doesn’t adhere the cull to the countertop.
Once all the clamps are tightened try and remove as much of the glue squeeze out as possible. This too will speed up the final cleanup and sanding. Use a putty knife or wood chisel to quickly scrape it clean. Keep the clamps on for 24 hours before removing them to ensure a good quality bond.
Sanding Wood Countertops
In my opinion the toughest part of building your own wood countertops is sanding them. This is especially true if you plan on using any stain to color the wood as stain will quickly show any imperfections in your sanding! Even with biscuits it’s likely you’ll have to do some minor “leveling” of adjacent boards to get them flush.
This is easily accomplished with a belt sander using 60 or 80 grit paper. My preference is sanding with the grain (some woodworkers would actually cross grain sand the first leveling pass but if you’ve got little experience with a belt sander I wouldn’t recommend it). Be sure not to push down hard on the sander, let the weight of the tool and the proper grit do the job. After leveling out the boards move up a grit (either 80 or 100) again with the belt sander to remove some of the deep scratches from the first grit.
At this point I like switching over to a random orbit sander. I started with 100 grit on the random orbit sander and spent a good amount of time slowly moving in a deliberate pattern back and forth from one end of the counter to the other. Again, be sure not to push hard on the sander or you’ll get the dreaded “pig tail” sanding swirls that typically only show up when you apply the stain. Let the tool do the work and make sure the sanding abrasive is clean at all times.
I moved on to 120 grit with the random orbit sander before moving completely to hand sanding. This is more work, but it’s much easier to avoid pig tails and other sanding blemishes if you do the final sanding by hand. I did 150 grit, 180 grit, and lastly 220 grit. Some people will skip grits but I think that’s just asking for trouble and the extra steps are sure to pay off in the final product.
Finishing Wood Countertops
I could write and entire book on this process but that’s not the point of this article. Instead I’ll share what I did for my countertops and let you explore all the options out there for finishing wood countertops as the options are as endless as the wood choices.
Wood Stain
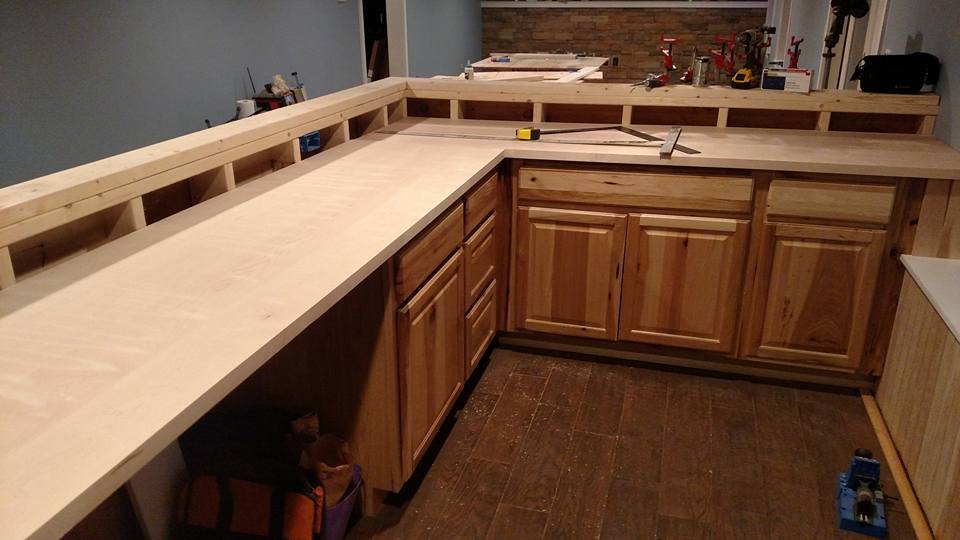
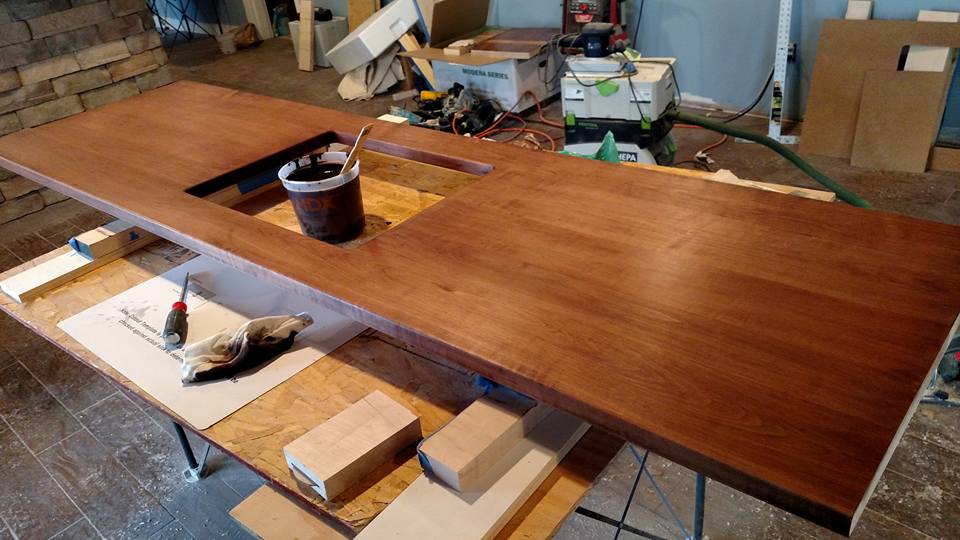
We wanted a fairly dark wood to contrast the light colored natural Hickory cabinets we used. With scraps left from the countertop cut offs I made several samples using different color stains. None of the premixed colors worked for us so I ended up mixing two colors 50/50 to settle on a color we liked. We used ZAR oil-based stain, Moorish Teak (#123) and Dark Mahogany (#118), mixed 50/50. Mixing stains is a great way to get the color you really want vs settling for something that is “close” but not perfect.
Because we chose Maple, I also needed to pre-treat the wood with a stain conditioner to prevent blotching. This is a very important step and one that really needs to be used for woods like Maple, Birch and Pine to name a few. I used Minwax Pre-Stain Wood Conditioner that I wiped on with a clean rag and let dry for 10 minutes prior to staining. Be sure to follow the application directions closely for best results.
I followed the Pre-Stain with application of the ZAR oil-based stain. Apply the stain using a soft, clean rag in a circular motion working from one end of the countertop to the other. For this project the stain was then wiped off the surface after about 10 minutes of sitting time. You’ll want to experiment with this entire process on scrap pieces and then follow the same routine on each piece of countertop for a consistent stain appearance. Let the stain dry overnight for best results (if you start to apply urethane too soon the stain will lift from the wood and potentially create an uneven appearance).
Urethane
For this project I used an oil based satin urethane. Again, there are many choices for sealing wood countertops including: Tongue Oil, Urethane (water and oil based), Epoxy, Linseed Oil, and countless other mixtures. I selected ZAR Classic Wood Finish in a satin sheen. I’m not a huge fan of super shiny wood countertops that look like glass (I know there are lots of people that like the epoxy finishes, but it’s not for me). The satin sheen lets the beauty of the wood stand out and I think it’s less noticeable when the inevitable scratches occur on the surface.
I applied 5 coats of urethane on the top surfaces of the countertops. The section of countertop that has the sink was coated on the bottom with several coats to safe guard against water problems.
In between coats of urethane I lightly sanded with 320 grit sand paper to knock off bumps. After the final coat I let the urethane cure for 48 hours and then started with a 600 grit wet sanding followed by #0000 steel wool for the final sanding or “rubbed” finish.


Love the bar top, looks great. Nice article explaining your process too. The room as a whole turned out real classy. I’d love some info on how you did the ceiling. Nailed to the joists above?, or is it actually a suspended grid with removable panels?
You can read about it here: http://www.homeconstructionimprovement.com/woodtrac-ceiling-system-review/
It’s a great product…especially for people that don’t like the look of traditional ceiling tiles.
Hi Todd, thanks for the write up. Always good to see real world experience.
I think you meant ‘cawl’ versus ‘cull’. A suggestion, in general to control movement, put the same number of coats of any finish/veneers (I know, not used here; but put a cheaper veneer on the back side)on all sides.
This is high on my list for a vanity top — I’m still exploring the best choice for the sealers due to the constant opportunity for water intrusion.
Michael – Great advice, I sealed all sides, couple extra top coats on the top surface though.
Todd, what are your thoughts on the collapsible table/legs you used to support the counters? Look like a great solution for a job site table.
I LOVE them! They are called Centipede Saw Horses and I’m hooked on them now.
http://centipedetool.com/
Article was well presented with steps in a good order. Only two misspellings (one caught by another). Spell checkers work rather well about 98% of the time, it is only with specialized words that it has problems.
Tung oil is from the seeds of the tung tree, I have no idea what the tongue oil is made from nor why anyone would use it in woodworking.