How To Install Fypon Gable Pediment Brackets
Custom Gable Pediments by Fypon Adorn Custom Home
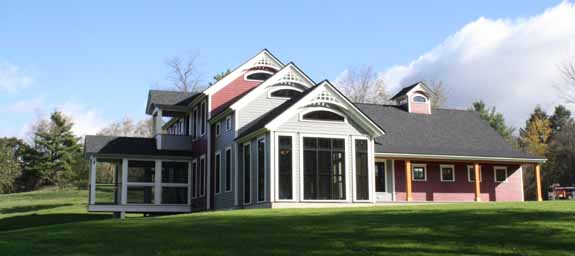
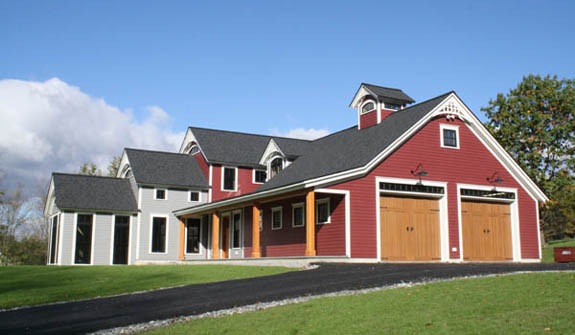
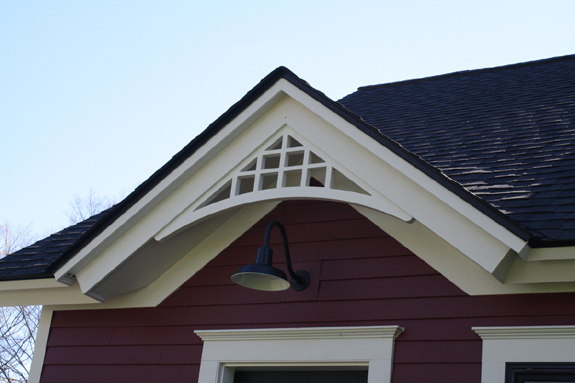
The difference between a house you’ve seen a million times and one that leaves a lasting architectural image in your brain can be the little things. We just finished building a gorgeous custom home with a very traditional New England farm house feel. The house features several very distinctive arc top windows that the architect felt needed something to connect them cleanly to the repeating roof line. He drew several ideas including one that had matching gable pediments that mimicked the shape of the arch and really helped fill the between the window and roof line.
The idea looked great on paper but seemed like something very difficult to build and maintain. I knew Fypon made gable pediments, vents, etc. What I didn’t know was they also offer custom fabrication of other shapes. After a quick phone call we soon learned they can build almost anything that you can send electronic CAD drawings of to them.
The best part is Fypon products won’t rot, warp, split or decay. They are very easy to paint and install and you don’t need a 30 year carpentry veteran on your team in order build a custom home with these type of high end details.
How To Install Fypon Gable Pediments
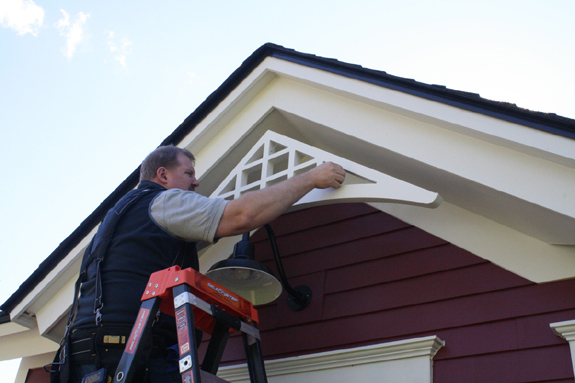
Installing Fypon products is very easy and only requires simple tools. Below are step by step directions for installing one of the custom gable pediments we used but most of the Fypon products are installed in a very similar way as though you were installing a pre-fabricated wood element.
Step 1 : Pre-Paint Fypon Product
Before installing Fypon products I highly recommend that you get at least one coat of paint on them or more. Painting the Fypon brackets was like painting any other exterior element on the house. The product was cleaned to remove dust and grease. A high quality latex exterior grade paint was applied in several coats. The same paint was used after the installation to touch up the holes from installation.
Step 2 : Pre-Drill Holes for Fasteners
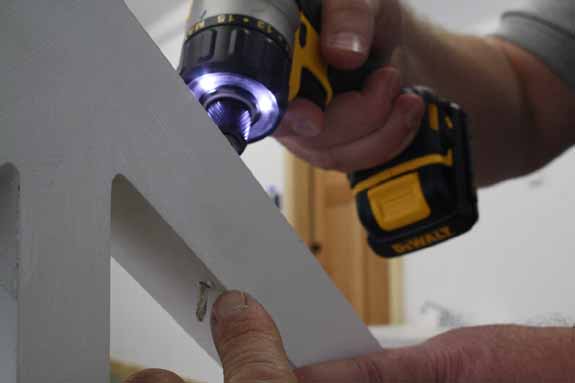
I recommend pre-drilling holes in the Fypon brackets before installing them. I’m not so much worried about splitting the urethane however I do think it makes the installation of screws much easier when you’re working on a ladder. It’s important to install sufficient fasteners in order to keep the bracket tight and secure to the building.
Step 3 – Apply Urethane Construction Adhesive
The next step is to apply a good quality urethane construction adhesive to all the contact surfaces. I prefer applying the adhesive down on the ground where it’s more stable and safe.
 Step 4 : Install Corrosive Resistant Fasteners
The next step is to install corrosive resistant fasteners in each of the pre-drilled holes. Be sure to sink the screw heads deep enough so they can be filled with caulking or filler (auto body filler works VERY well for filling holes in Fypon products).
Step 5 : Caulking and Finish Paint Touch-Up
The last step is to caulk any gaps between the trim and bracket. Finally fill any holes from the fasteners and touch-up the paint.
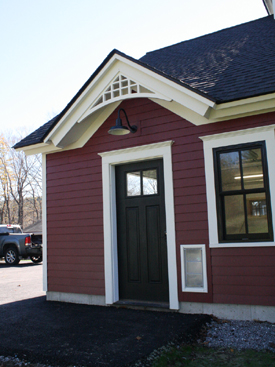 As you can see the Fypon bracket was really easy to install. In fact, all of their products that I’ve installed over the years really are just that easy. The really nice thing about the custom option is the ability to build anything the Architect or designer have dreamed up for a price-point that’s likely to be cheaper than a carpenter can build.
For me the real test is the impression from the Architect and the Owner. Often times non-wood products are easy to spot on a house. That’s simply not the case with Fypon products as the textures are architecturally accurate and they take paint just like they were wood.
To learn more about Fypon Products and the services they offer please visit their webpage: Fypon
How To Install Fypon Gable Pediments Video
Check out the following short video. It shows my installing this gable pediment above and how easy it really is. Fypon is easy to install including people with basic DIY and tool skills.










Leave a comment